
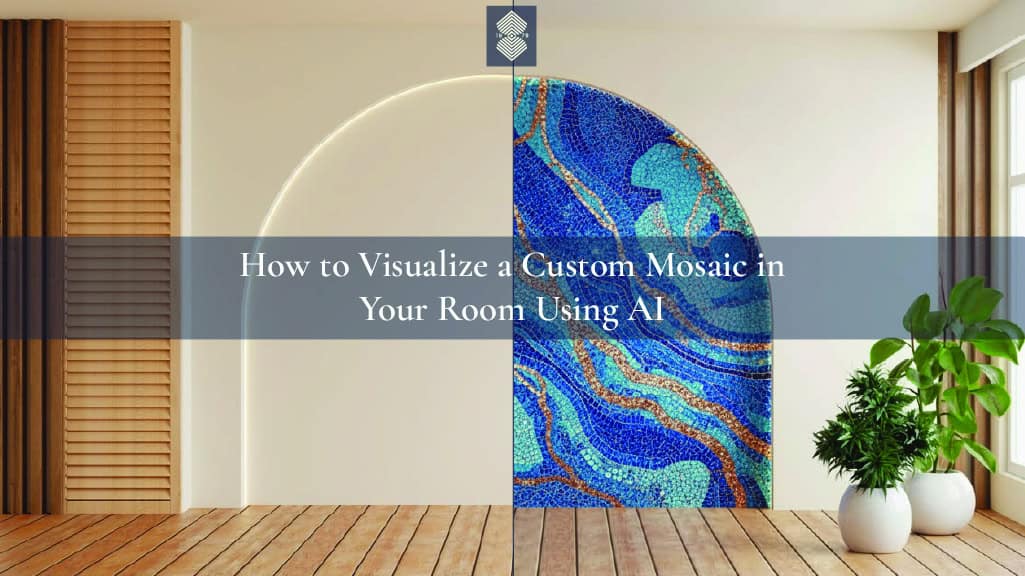
Choosing a mosaic from a catalog is easy. Knowing how that mosaic will look inside your actual room is much harder. Because a pattern may appear balanced on a screen yet feel too busy above your kitchen counter. A deep blue mosaic mural might look beautiful on its own but clash with the warm marble in your bathroom. Even the right mosaic artwork can feel wrong when its scale, placement, or colors don’t suit the surrounding architecture.
The MEC AI Mosaic Studio helps close that gap. Its customize your space module lets you upload a photo of your room, describe the mosaic you have in mind, choose where it should appear, and generate a visual preview. Instead of imagining the result from a small material sample, you can view the concept within your own surroundings.
This user guide explains how to visualize a custom mosaic in your room using AI: MEC AI Mosaic Studio. You’ll learn how to take a suitable photo, write a useful design prompt, select the right surface, assess the result, and turn an early digital concept into a real mosaic conversation.
Table of Contents
| “The goal isn’t to replace the design process. It’s to help you enter that process with a clearer vision.” – MEC Artwork Design Team Free Trial Today: MEC AI Mosaic Studio |
Seeing Is Believing: Why Visualizing a Custom Mosaic on Your Real Walls Changes Everything
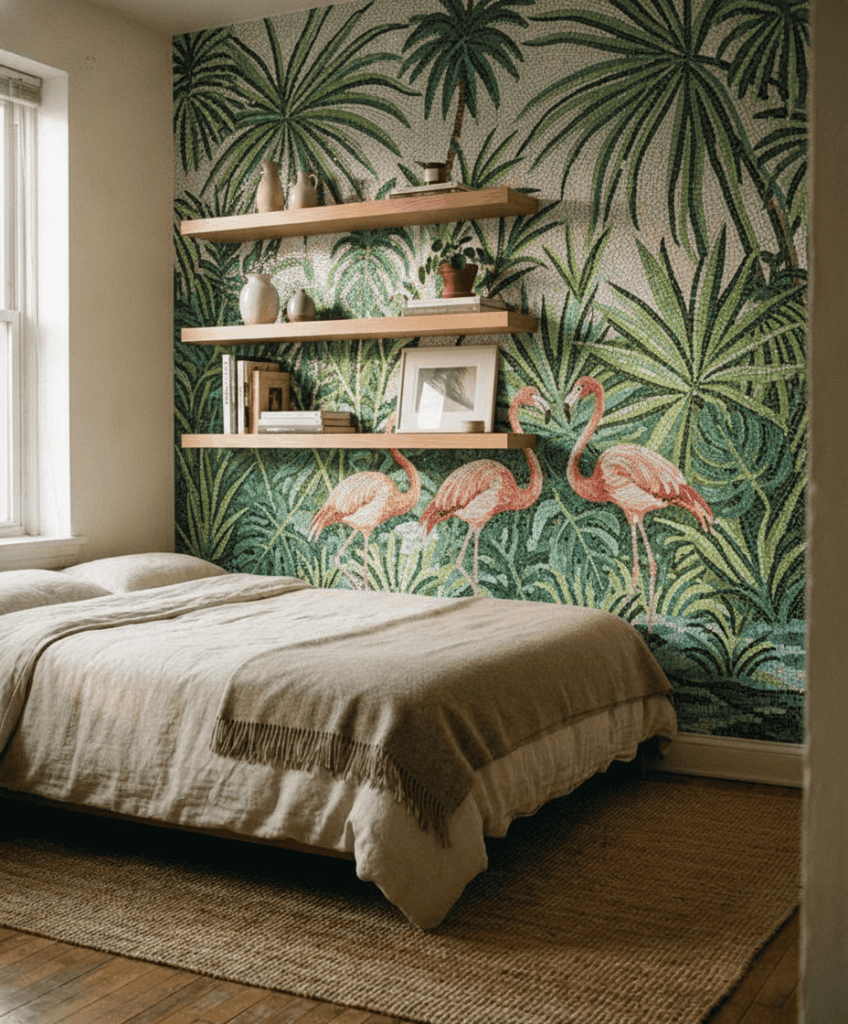
A mosaic doesn’t exist in isolation. It sits beside cabinets, kitchen counters, furniture, lighting, windows, doors, fittings, and flooring. All those elements influence how the finished artwork feels. That’s why a decorative mosaic tile pattern that looks perfect on a blank page can behave very differently once placed inside a real room. Using a real room tile visualizer gives you context that a standalone design image can’t provide.
You begin to see whether:
- The pattern suits the size of the surface
- The colors work with existing materials
- The artwork creates the right focal point
- The mosaic feels too dense or too quiet
- The selected wall is really the best location
- The design should cover the full surface or a smaller framed area
- The room needs glass, marble, or a different visual character
This distinction matters. You aren’t simply asking, “Do I like this mosaic?” You’re asking a more useful question: “Does this mosaic belong in my space?”
Here is a step-by-step explanation for you of how MEC AI Mosaic Studio actually works:
Step 1: Snap and Upload a Photo to the Custom Mosaic Photo Upload Tool
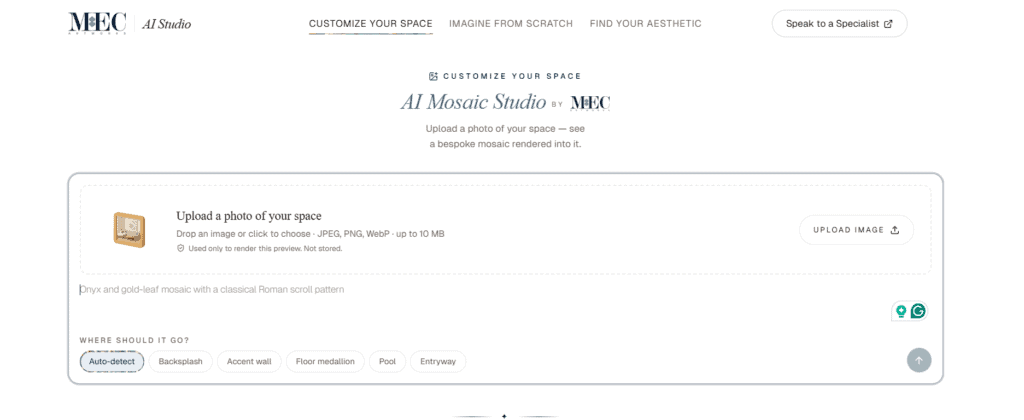
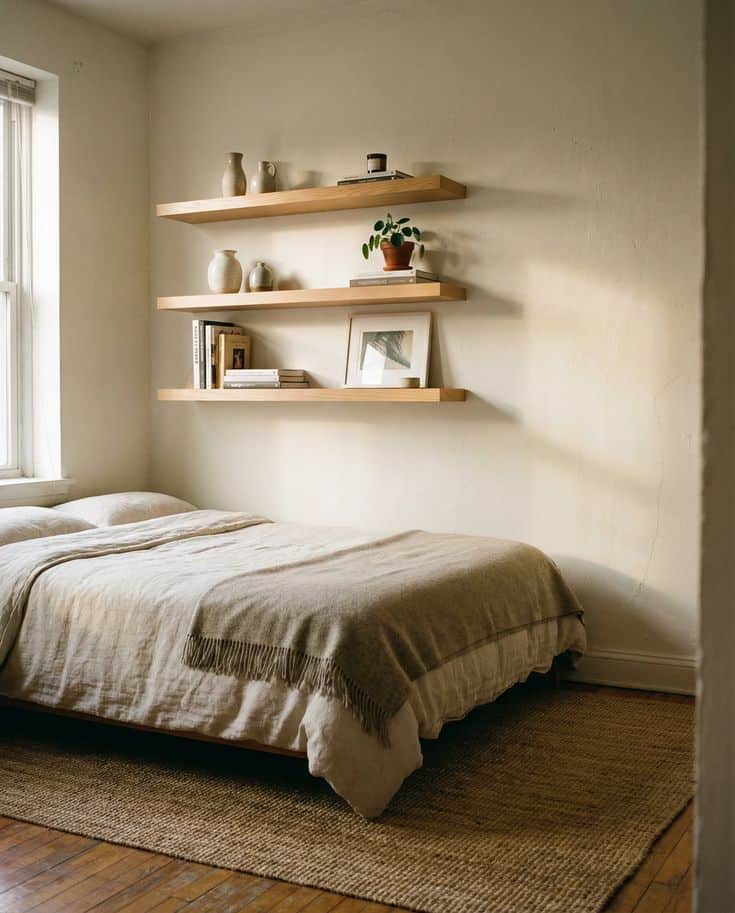
The room photograph becomes the backdrop for your render. A clear image gives the system more useful visual information and usually produces a more convincing preview. You don’t need professional equipment. A recent smartphone camera will often work well. What matters most is visibility, framing, and light.
Open the Customize Your Space module and choose Upload Image. You can click the upload area or drop a compatible file into it. The current upload format and limit are: JPEG, PNG, WebP · up to 10 MB.
Getting the Perfect Angle for Your AI Room Backdrop
Start by deciding which surface you want to change. Is it the wall above a bathroom vanity? The area between your kitchen cabinets? A large living room wall? The floor inside a circular foyer? The bottom of a swimming pool? Once you know the target, frame the photograph around it.
Keep The Camera Level
For a wall, hold the camera as straight as possible. Avoid tilting it sharply upward or downward. Extreme angles can distort the surface. The top may appear much narrower than the bottom, or one side may look longer than the other. Some perspective is natural, especially in small rooms. Still, a more level view gives the visualizer a cleaner backdrop and helps you visualize a custom mosaic in your room using AI with greater accuracy.
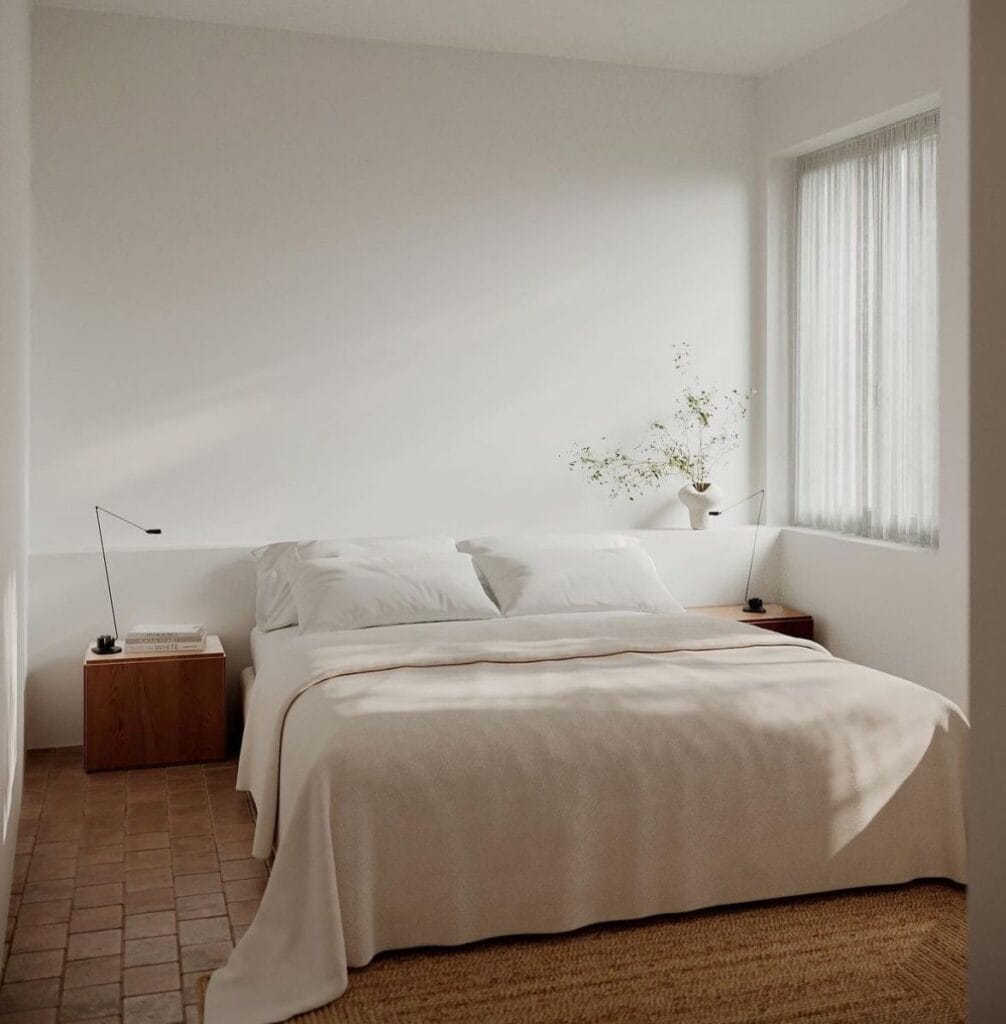
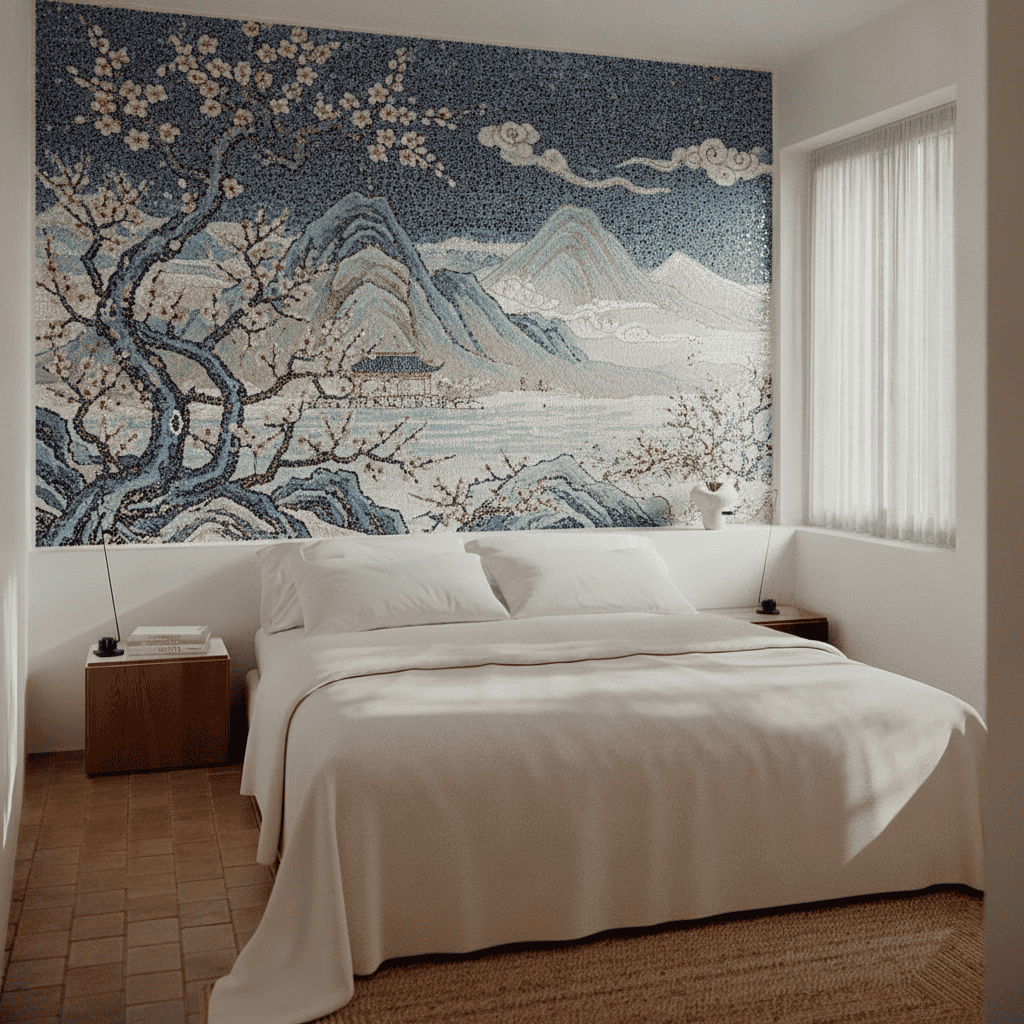
Capture The Complete Target Area
Don’t crop the surface too tightly. The AI also needs some surrounding context. Cabinets, counters, windows, trim, furniture, and nearby walls help communicate the scale and structure of the room. For example:
- For a backsplash, include the counter and upper cabinets.
- For a bathroom wall, show the vanity, mirror, and nearby fittings.
- For an entryway, capture the floor area along with the doors or hallway edges.
- For a pool, include the full basin or as much of its shape as possible.
A photo that shows only a blank patch of wall may offer less context than one that includes the whole design zone.
Clear Unnecessary Clutter
You don’t have to empty the room. In fact, fixed features help the render feel more realistic when you visualize a custom mosaic in your room using AI. However, temporary clutter can hide useful boundaries. Move laundry baskets, boxes, loose towels, small appliances, or decorative items when they block the target surface. Keep permanent elements in place, including:
- Kitchen built-in cabinets
- Vanities
- Shelves
- Plumbing fixtures
- Windows
- Doorways
- Pool steps and borders
- Architectural moldings
These details help you see how the concept interacts with the real space.
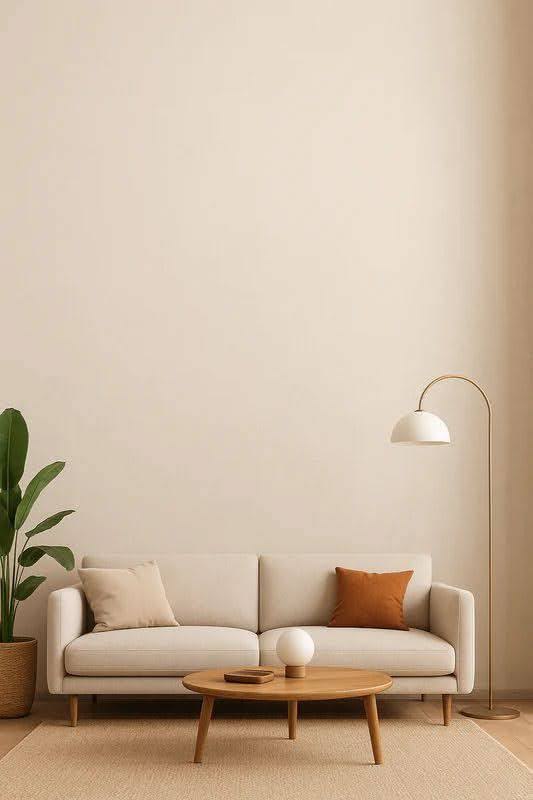
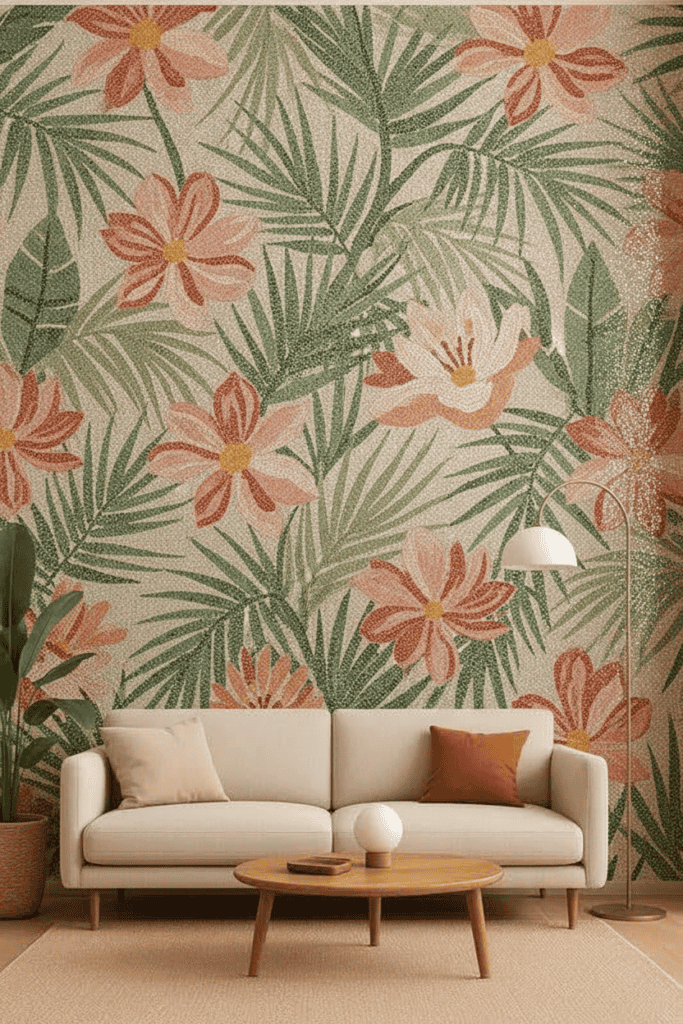
Take More Than One Photograph
Capture the room from two or three positions:
- A centered, straight-on view
- A slightly wider architectural view
- A second angle that shows depth
You can test more than one image and compare the outcomes to visualize a custom mosaic in your room using AI. Often, one angle communicates the intended surface much better than the others.
Step 2: Your Prompt: Describe Your Dream Layout in the Bespoke Tile Rendering Tool
Once the room photo is ready, tell the visualizer what you want to see. This is where many users become hesitant. They assume they need technical design vocabulary or a perfectly written brief. You don’t. A useful prompt simply communicates your main preferences. The description should give the system enough direction without turning into a novel. Focus on five points:
- What type of mosaic do you want?
- Where should it appear?
- Which colors should it use?
- What style or subject inspires you?
- How should the room feel?
A prompt that covers three or four of those points can already create a clear direction.
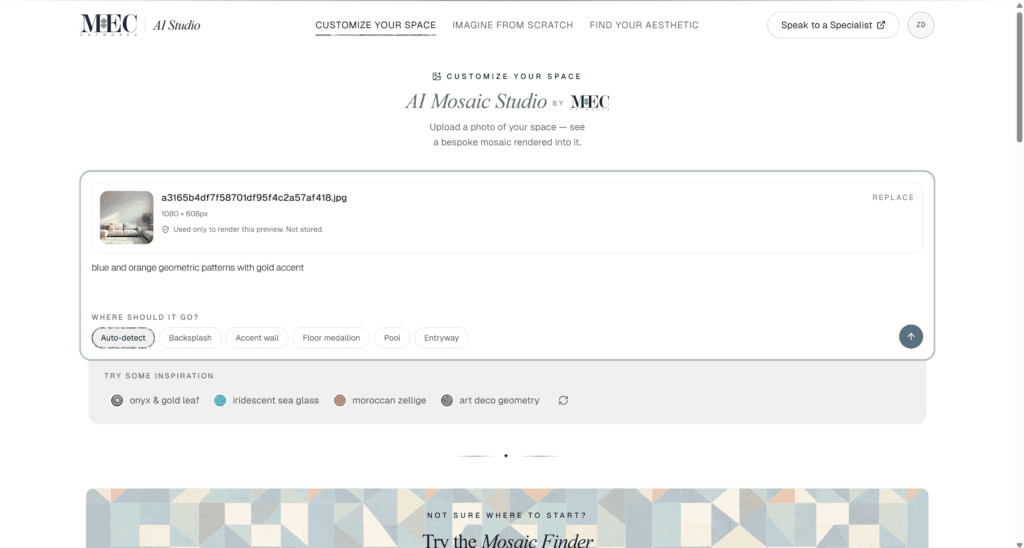
Speaking the AI’s Language With Creative Mosaic Descriptors
The best prompts combine visual instructions with a sense of atmosphere. Compare these two descriptions: “Blue mosaic wall.” “A flowing blue and turquoise glass mosaic with soft wave patterns for a calm bathroom accent wall.”
The first tells the tool one thing: color. The second adds color, material character, pattern, mood, surface, and room type. It gives the bespoke tile rendering tool far more to work with.
Build Better Prompts to Visualize a Custom Mosaic in Your Room Using AI
Use this formula when you’re unsure how to begin with an AI prompt for mosaic tile art:
[Mood] + [colors] + [style or subject] + [visual material] + [surface or room]
For example: “A calm sea-green and pearl-white wave design with luminous glass details for a bathroom feature wall.” Or: “A bold black-and-white Art Deco marble medallion for a formal villa entryway.” Here are more ready-to-use examples:
| Space | Example prompt |
| Kitchen | Warm ivory and olive botanical mosaic backsplash with small hand-cut glass details |
| Bathroom | Soft aqua and blue abstract glass mural for a peaceful spa-style vanity wall |
| Powder room | Dramatic emerald and gold Art Deco accent wall with geometric symmetry |
| Entrance | Circular black, white, and gray marble floor medallion with a classical border |
| Pool | Flowing turquoise and cobalt underwater mosaic inspired by ocean currents |
| Living room | Large neutral botanical wall mosaic with cream stone and subtle bronze details |
| Hospitality lobby | Bold abstract mosaic mural with layered jewel tones and sweeping movement |
How Much Detail Should You Add?
Aim for one or two clear sentences. A very short prompt may leave too much open to interpretation. A long paragraph with conflicting instructions can confuse the design direction. For instance, avoid a request like:
“Make it minimalist but extremely detailed, modern and Roman, neutral yet very colorful, with flowers and geometry and waves.”
That prompt pulls in too many directions. Instead, choose a visual priority:
“A modern geometric mosaic in soft cream and charcoal, with a simple repeating pattern for a minimalist entry wall.”
Clear direction beats creative overload.
Looking for a Spark? Try the Built-In Inspiration Tags Recommendations
You don’t need to begin with a blank page. The module includes visual inspiration choices such as:

These options can help you establish an aesthetic when you’re unsure what to type. Select an inspiration that feels close to your taste. Then add personal details through the description. For example:
- Start with Moroccan zellige designs
- Add terracotta and indigo
- Place it on a kitchen backsplash
- Ask for a warm, handcrafted feeling
Now the starting reference becomes a more personal concept. The site also features a Mosaic Finder for users who need more guidance. It asks five questions and generates a design direction based on the answers. That feature can help when your thought process sounds like, “I’ll know it when I see it.”
Step 3: Let Smart Auto-Detection Map Out Your Walls
After uploading your photo and entering a description, decide where the mosaic should appear. The tool offers Auto-detect, which lets the system interpret the image, or you can select a specific surface for more accurate placement. This stage helps you visualize a custom mosaic in your room using AI by turning a general design idea into an architectural application tailored to your space.

How Auto-Detection Works Within the Room Preview
Auto-detection examines the visible scene and attempts to identify an appropriate design zone. In a kitchen, it may interpret the wall between the counter and upper cabinets as a backsplash.
- In a living room, it may choose a large uninterrupted wall.
- In an entryway, it may recognize a central floor area.
The result depends on the photograph. Clear boundaries usually make the intended surface easier to interpret. Furniture, mirrors, lamps, cabinets, and fixtures don’t automatically prevent the tool from generating a preview. However, they can make a surface harder to read when they cover most of it.
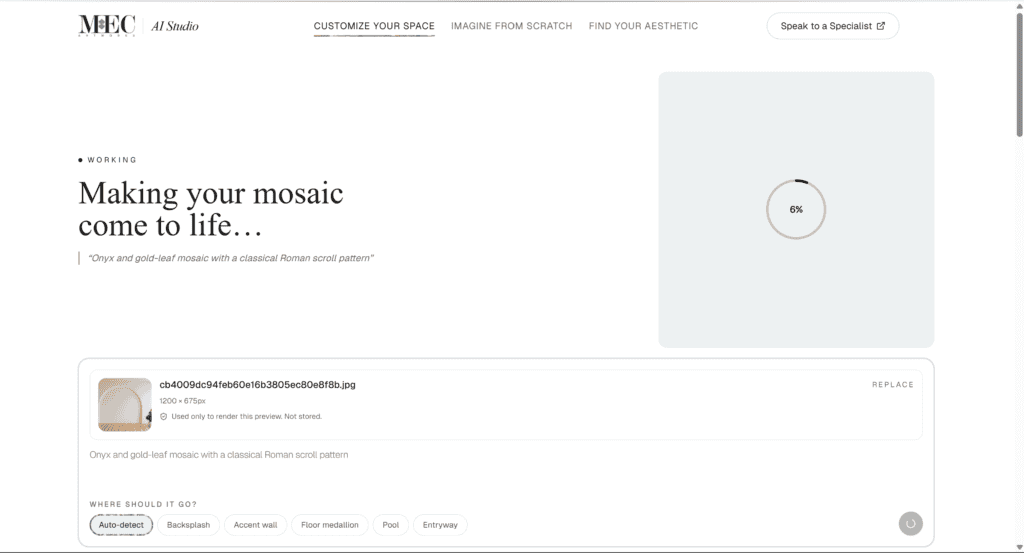
When the first placement doesn’t match your intention, you have several options:
- Choose a specific surface instead of Auto-detect
- Upload a clearer photograph
- Use a more direct camera angle
- Mention the exact surface in your text prompt
- Remove temporary objects that block the area
- Generate another variation
Give the tool matching clues. For example, choose Backsplash and write “behind the stove between the upper cabinets.” That alignment between the button selection and the prompt can make your intention clearer.
Specifying Surfaces From Backsplashes to Swimming Pools
Each placement option serves a different design purpose.
| Application Area | Best Used For |
| Backsplash | Kitchen counters, cooking zones, home bars, bathroom vanities, butler’s pantries, hospitality service counters |
| Accent Wall | Living rooms, powder rooms, bedrooms, dining rooms, spas, restaurants, lobbies, staircase borders, reception spaces |
| Floor Medallion | Villa foyers, hotel entrances, circular halls, corridor intersections, dressing rooms, formal dining areas, grand stair landings |
| Pool | Residential swimming pools, spa pools, wellness basins, decorative water features |
| Entryway | Villa entrances, threshold spaces, foyer floors, hotel arrivals, branded commercial entrances |
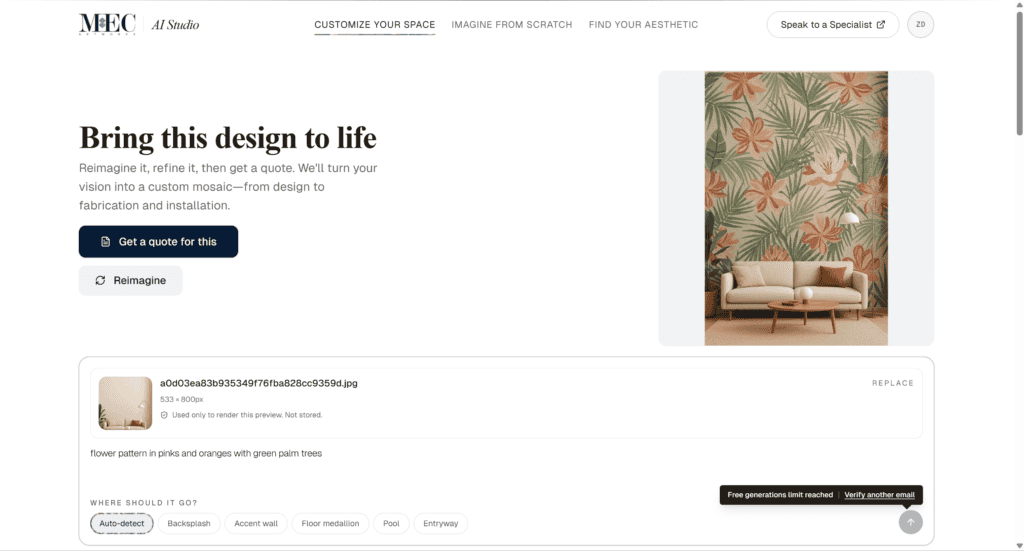
Refine, Redesign, or Realize Your Virtual Mosaic Wall Preview
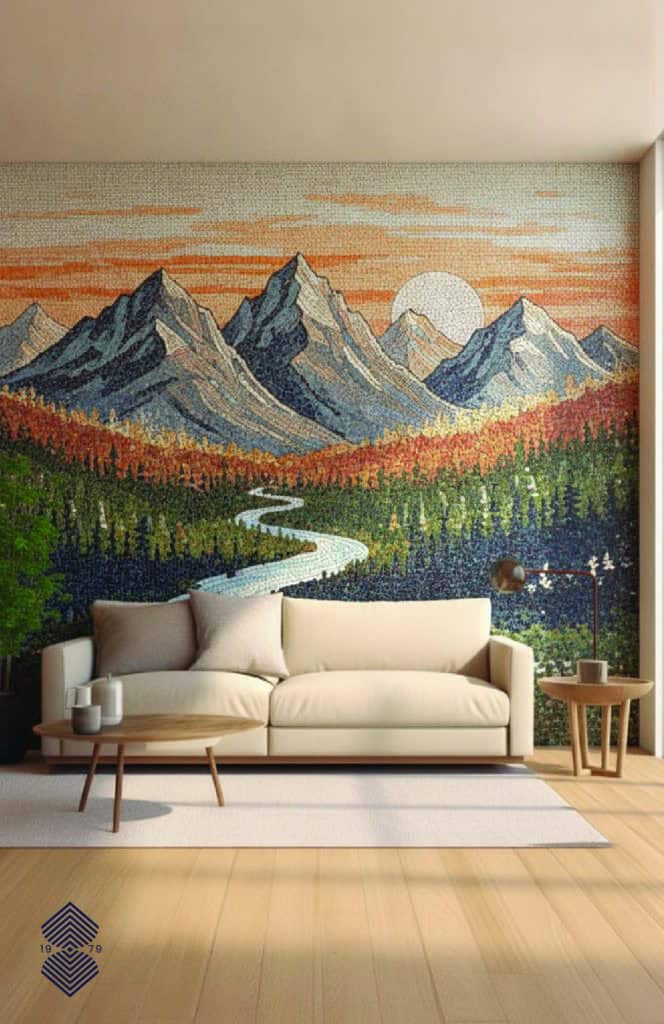
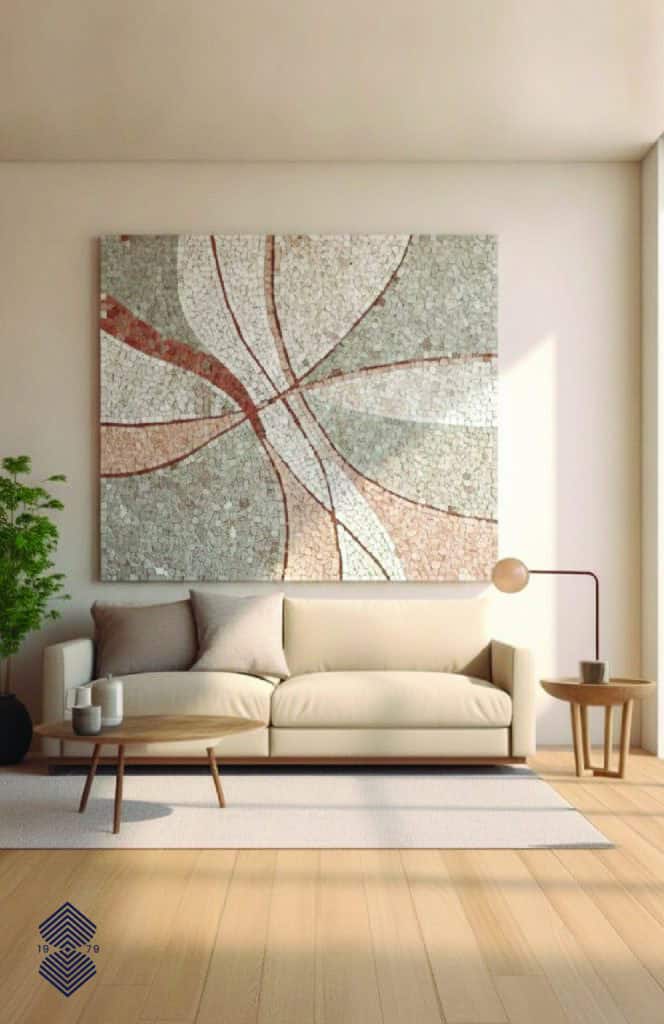
The first render doesn’t need to be perfect. In fact, it probably won’t be. Early visualization works best as a conversation. As you visualize a custom mosaic in your room using AI, you can give the tool a direction, see what it understood, and then refine your design brief. Perhaps the palette feels right, but the pattern is too ornate. Maybe the artwork is beautiful but belongs on another wall. You may discover that the room needs a floor feature rather than a mural. Those discoveries are valuable because they help you move closer to a design that truly fits your space.
Not Quite Right? Reimagine the Custom Mosaic for New Variations
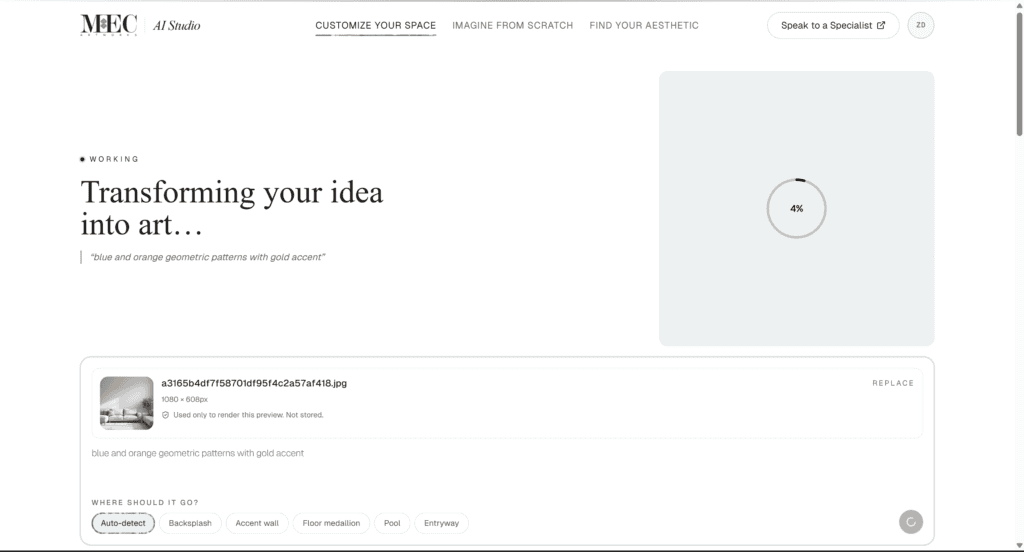
When a result misses the mark, don’t rewrite everything at once. Change one or two variables. This lets you understand which adjustment improved the outcome. For example, your original prompt may say:
“A rich blue Moroccan mosaic for a bathroom accent wall.”
The result feels too dark. Refine it to:
“A soft blue and white Moroccan-inspired mosaic with an open pattern and a bright spa-like mood for the bathroom accent wall.”
You’ve kept the core idea while changing the intensity and density.
Save the Ideas That Work
Keep a record of your preferred results. You may want to save:
- One favorite composition
- One alternative palette
- A preferred placement
- A detail you like from another version
- Notes about what didn’t work
Name the files clearly. For example:
- Bathroom_Blue_Botanical_Option_A
- Foyer_Medallion_Black_White
- Pool_Ocean_Concept_Lighter
This small step becomes valuable when you speak with a specialist. Instead of explaining everything from memory, you can show the visual journey.
Ready for the Next Step? Turn Your Digital Concept Into a Price Quote
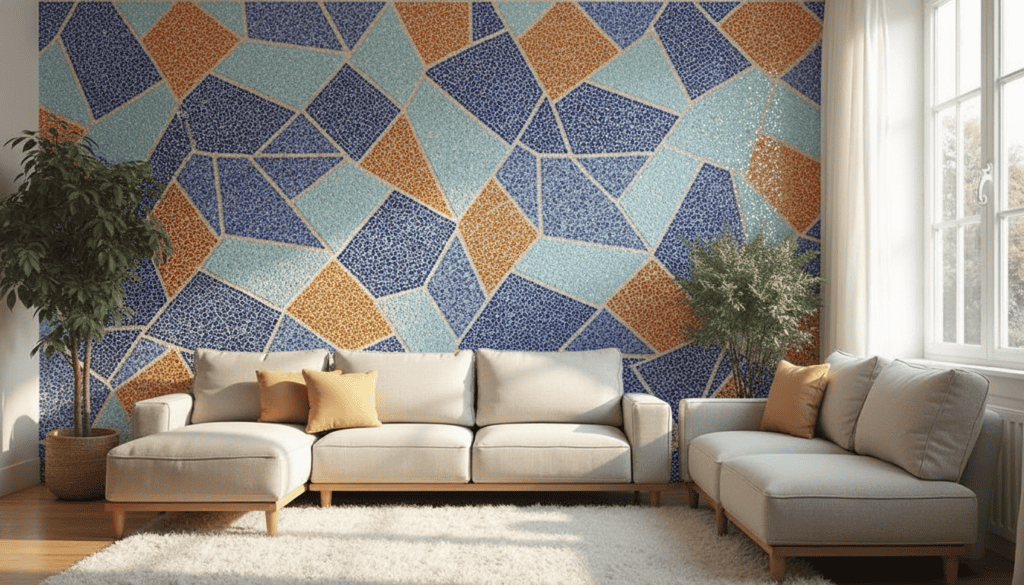
A render can communicate your taste. It can’t produce a complete architectural quotation on its own. A real custom mosaic quote depends on physical project details, including:
- Exact width and height
- Total surface area
- Wall or floor condition
- Interior, exterior, or underwater use
- Design complexity
- Chosen materials
- Tessera size
- Cutting method
- Color range
- Number of custom details
- Shipping destination
- Installation scope
- Site access
- Project timeline
The AI concept becomes a visual reference for the next stage. A mosaic specialist can then evaluate how to translate the direction into a handcrafted artwork.
Unlock Five Free High-Resolution Mosaic Previews
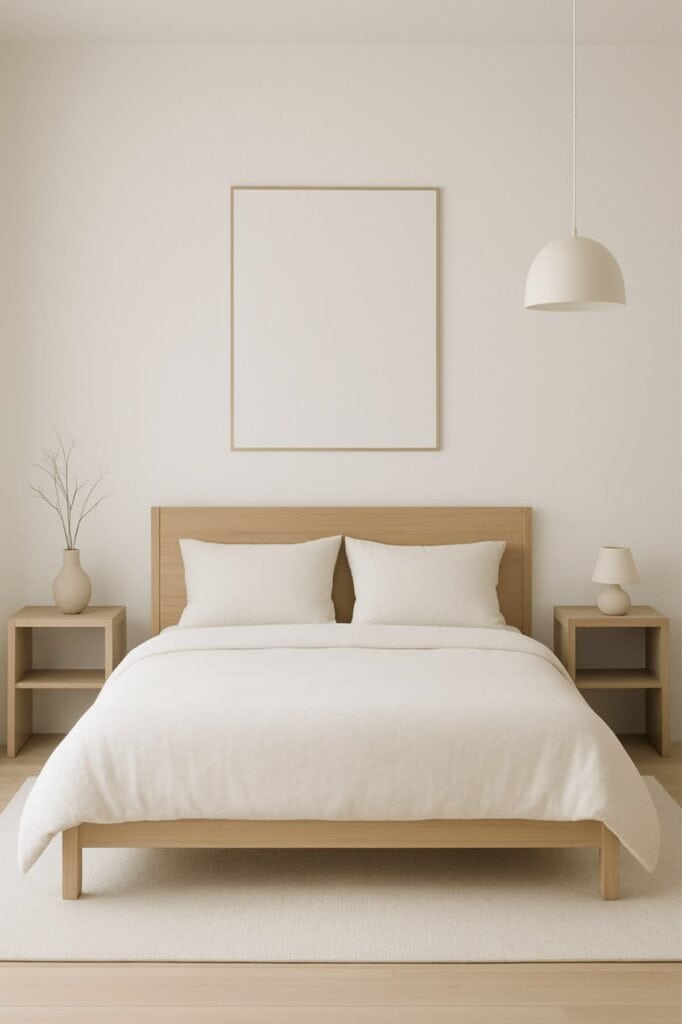
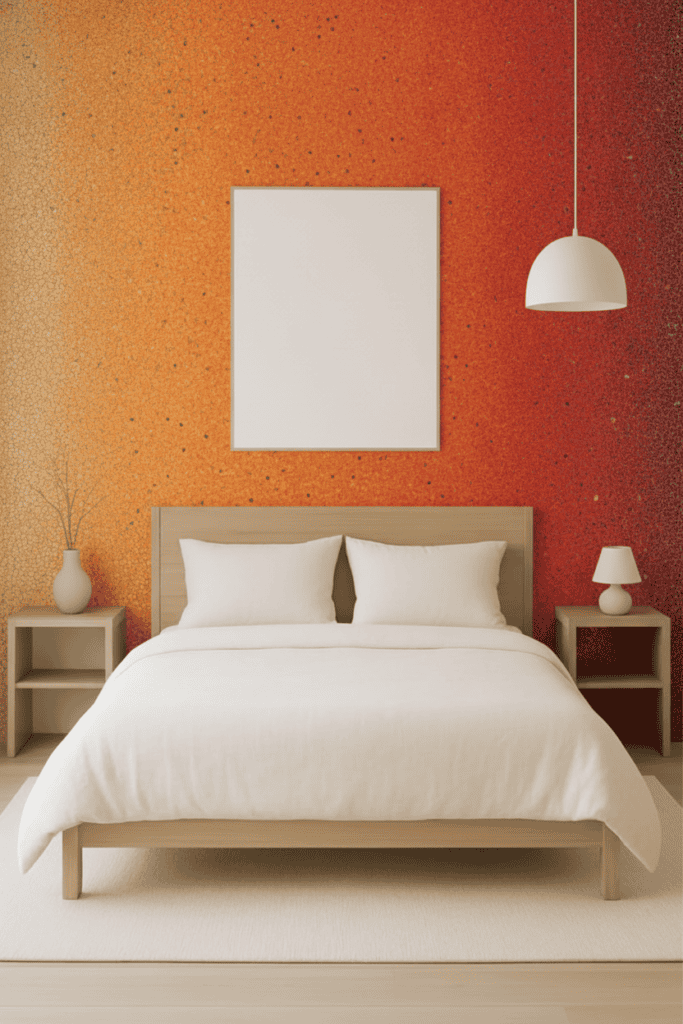
Before generating your first mosaic design, enter your email to receive a secure six-digit verification code. Once verified, you’ll unlock five free high-resolution mosaic previews to visualize a custom mosaic in your room using AI before making any design decisions. There’s no password to create or subscription to manage, and your email is used only to send the one-time access code. (Get 5 free mosaic designs)
See the Possibility Before Choosing the Final Mosaic Design
A bespoke mosaic can change an ordinary surface into the visual heart of a room. Once you can visualize a custom mosaic in your room using AI, planning a bespoke design becomes much easier because you can see the concept in the context of your own space before making any final decisions.
With the MEC AI Mosaic Studio, you can upload your own room, describe a design, choose a surface, and compare possible directions. The experience helps you answer early questions about color, style, scale, mood, and placement. You may discover that the dark mural you imagined needs a lighter background. A backsplash might feel more balanced than a full wall. An understated marble medallion may suit the entrance better than a complex pattern. That’s the real strength of the process. It doesn’t force you to commit. It gives you room to explore.
FAQ’S
What kind of lighting and photo quality works best for the room upload feature?
Use a clear, sharp photograph with soft and even lighting. Natural daylight often works well when it doesn’t create harsh shadows. You can also use balanced indoor lighting. Avoid dark corners, strong glare, heavy filters, and overexposed windows. Keep the camera steady and make sure the target surface remains visible. A straight-on photograph usually gives the tool a clearer view of walls and backsplashes. For floors and swimming pool mosaic projects, use a wider angle that shows the shape and surrounding architectural boundaries. The image doesn’t need to come from a professional camera. A clean smartphone photo can provide a useful backdrop.
Can the AI detect my wall boundaries when furniture blocks part of the surface?
It may still interpret the space when furniture or fixtures appear in the photograph. Permanent features can even make the render feel more realistic. However, the system has less visible information when large objects cover most of the wall. If the first result doesn’t place the mosaic correctly, try a different photo or select a specific surface instead of Auto-detect to visualize a custom mosaic in your room using AI more accurately.
How specific should I be in the description box for an accurate texture representation?
Include enough detail to define the style, color, mood, and location. A useful description often contains 15 to 30 words. It might mention the visual character of glass, marble, stone, iridescence, or hand-cut tesserae. For example: “A luminous turquoise glass mosaic with flowing wave lines for the pool floor, using deep blue accents and a calm ocean mood.” This gives more direction than “blue pool mosaic.” Remember that the generated texture is a visual interpretation. A real material sample remains necessary because screens can’t reproduce the exact color, reflection, thickness, or tactile quality of physical mosaic pieces.
What happens when I switch from an accent wall to a floor medallion after uploading?
You can use the same room concept to explore another application. Change the placement selection from Accent wall to Floor medallion. Then adjust the wording so it describes a floor-based composition. For example, change: “A botanical mosaic mural across the entry wall.” To: “A circular botanical marble medallion centered on the entry floor with a simple decorative border.”
Is the design generated on my photograph exact enough for a real architectural quote?
The render provides an excellent concept reference, but it isn’t a technical drawing. It can show the preferred style, mood, palette, and approximate placement, helping you visualize a custom mosaic in your room using AI before moving to the next stage. Those details help a specialist understand what you want. Share the render when requesting a consultation and treat it as the beginning of the design brief rather than a fabrication-ready file.